How to make your own starter
All the magic in real sourdough bread lies in the fact that it can be made without special equipment and with only 2 ingredients.
Water, and flour.

All the magic in real sourdough bread lies in the fact that it can be made without special equipment and with only 2 ingredients.
Water, and flour.
All the magic in real sourdough bread lies in the fact that it can be made without special equipment and with only 2 ingredients. Water, and flour.
It all starts with a strong and healthy starter.
I’m an advocate of making your own starter for many reasons.
First of all, it is so much better to create this miracle from scratch, and secondly, I think that even starter that you may “borrow”, over time it will take on the characteristics of the space it lives in and the person who takes care of it. I don’t believe in age-old starters and their “supernatural” powers. You can make yourself the strongest and healthiest starter with the characteristics you like. It’s very simple, you’ll only need water, flour and a few days of patience. The secret to a healthy starter is that it needs room to grow and enough feeding to increase its strength. A healthy starter will give you the perfect bread.
The starter you make will be the “source”, containing all these beneficial microorganisms and the base from which you will take each time in order to make the levain that will turn into your dough and baked bread. You have to learn over time its behaviour and how it responds to changes of the environment around it.
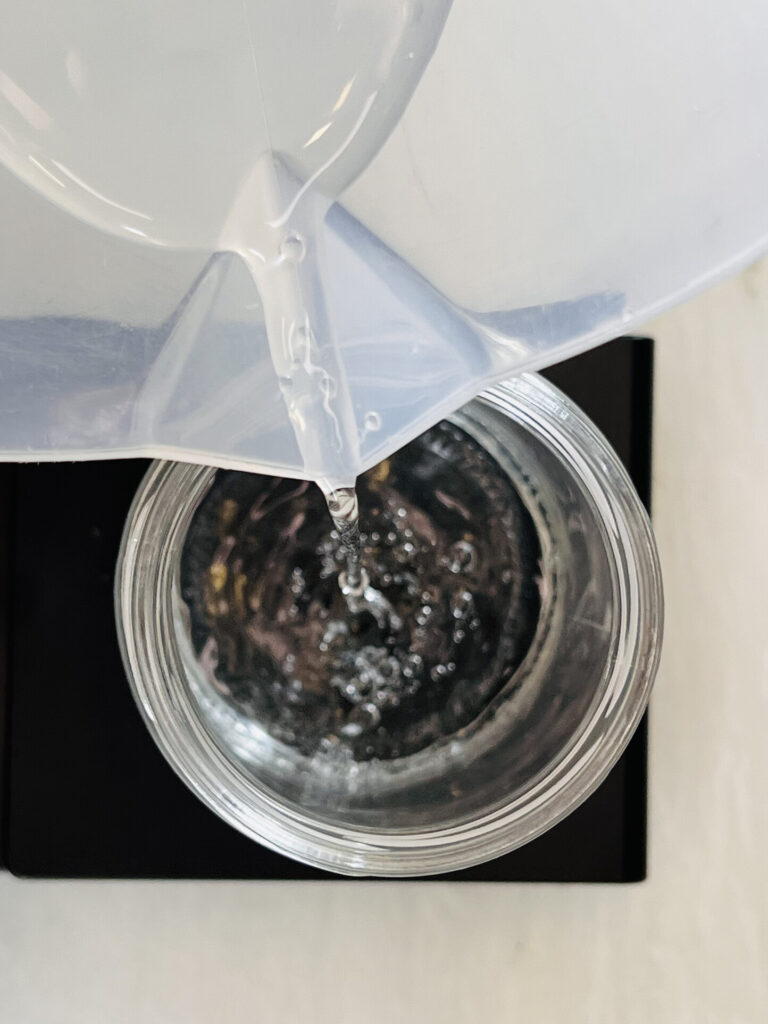
It is important before you start to check if the water in your area has high levels of chloramine. In this case it is better to use filtered water. If the local water supply network uses bleach, collect the water in a jar, leave it open all night and the next day you will be able to use it.
Remember that every time you mix flour and water feeding your starter you should leave the top of your jar loose allowing air to flow in.
The time that the starter will be ready depends entirely on the temperature of the room. This recipe provided here is carried out at a room temperature of around 24 to 26 degrees.
Generally a permanent constant temperature of around 25 degrees can be created in the home kitchen oven by leaving the oven light on.
The basic tools you’ll need to make a starter are:

two clean jars, a scale, wholemeal rye flour, all-purpose flour, a silicone spatula and a thermometer. The thermometer is optional, but it will help you control the temperature of the starter in order to increase its strength.
I always use whole wheat rye flour when feeding the “starter” to bring out the aromas and acidity, increasing the release of the gases created during fermentation. The addition of an all-purpose flour with high percentages of gluten will give more power to your starter. If you don’t have rye flour, whole wheat flour (preferably organic) is a good alternative.
The steps followed in each feeding are:
Day 1
Put the first clean jar on the scale and tare it. Add 100g wholemeal rye flour, 125g water and stir until they are well incorporated. It is good to have the water at a temperature of 26 degrees Celsius. Cover the jar without closing it and leave it at a temperature of 26 to 28 degrees Celsius for at least 24 hours


2nd Day.
You may not see much action on day 2.


Things will likely start to happen from day 3 onwards. Even if you don’t see a significant change, be patient, follow the process and you will be rewarded. Place a clean jar on the scale and tare it.


Add 115g of water (26 degrees C), take 75g of the mixture that rested for 24 hours ( discard the rest and clean the jar for future use) and dissolve it in the water. Add 50g of whole rye flour and 50g of all-purpose flour. Leave it in a warm environment for 24 hours.
3rd Day
On the morning of the 3rd day you will see some action, some bubbles may make their appearance, the aroma will be different and there may be a relative swelling.

The good bacteria have started their activity and a small community is starting to grow.
Place a clean jar on the scale and tare it.
Add 115g of water (26 degrees C), take 75g of the mixture that rested for 24 hours ( discard the rest and clean the jar for future use) and dissolve it in the water. Add 50g of whole rye flour and 50g of all-purpose flour.
Leave it in a warm environment for 24 hours.
4th Day
Surely on this day there will be a noticeable difference.


You will need to do two feedings approximately 12 hours apart. Add 115g of water (26 degrees C), take 75g of the mixture that rested for 24 hours (discard the rest and clean the jar for future use) and dissolve it in the water. Add 50g of whole rye flour and 50g of all-purpose flour. Leave it in a warm environment for 12 hours. Repeat this step a second time in the same day
5th Day & 6th Day
Continue to feed twice a day every 12 hours following the steps of day 4.
7th day
Take 20gr of the mixture that was resting for 12 hours, add 100gr of water and mix. Add 30g wholemeal rye flour and 70g all-purpose flour.
Mix well and let rest for at least 12 hours.


You will see your starter double or even triple in volume.


To check its strength, you can immediately after feeding it put a rubber band around the jar or make a marker at the point of the starter immediately after feeding so that you can see after hours where it will reach.

If you make bread every day you can continue with the feeding step of day 7 and use part of this starter for making bread. However, if you make bread once a week or less frequently, you can store your starter in the refrigerator and feed it at least once a week in a ratio of 1:2:2 (one part starter, two parts water and two parts flour mix (rye flour and all-purpose flour). This is called or starter
To make your bread you will take a part of this starter two days before starting to make your dough. You will feed it every 12 hours at a temperature of about (25 degrees every 12 hours) so that it strengthens. You will multiply it to give you the desired amount required for your bread recipe and with that you will make your levain.
You can feed your levain with white flour or with a small amount of hard flour.
From now on, the experimentation begins.
When I make white bread, I make a levain with a mix of 80% all-purpose flour and 20% hard flour. In a ratio of 1:4:4 or even 1:5:5. Start your experiments and take notes.
CAUTION!
Levain should be used in the dough just before it reaches or while it is at its peak.
If you see that it has receded its peak and is falling, it is better not to use it. After reaching its peak levain loses its power and you will not get a good result. Feed it again and wait…
As long as you live with it, you will understand its behaviour and avoid setbacks.
In future articles I will give you more tips and alternatives for storage and maintenance of your starter.
Good luck